Creating a new event from A to Z
First, log in to the administration page of your ticketing instance using your account.
Add a new event
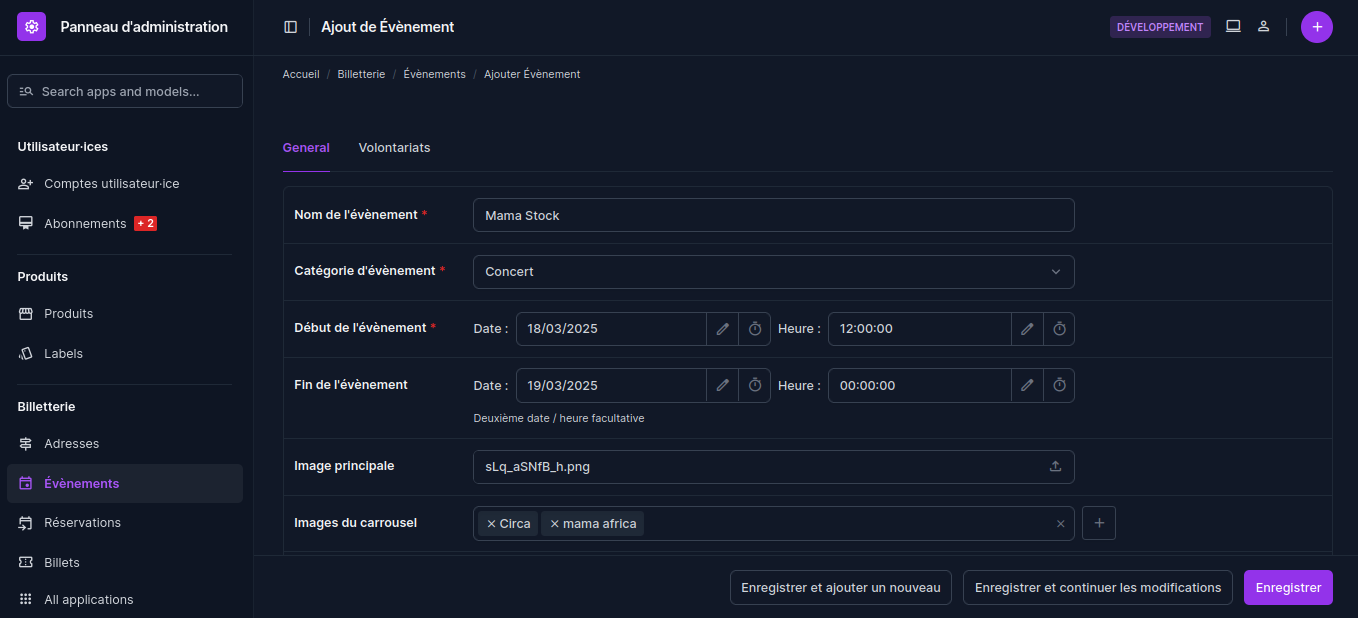
1- General tab
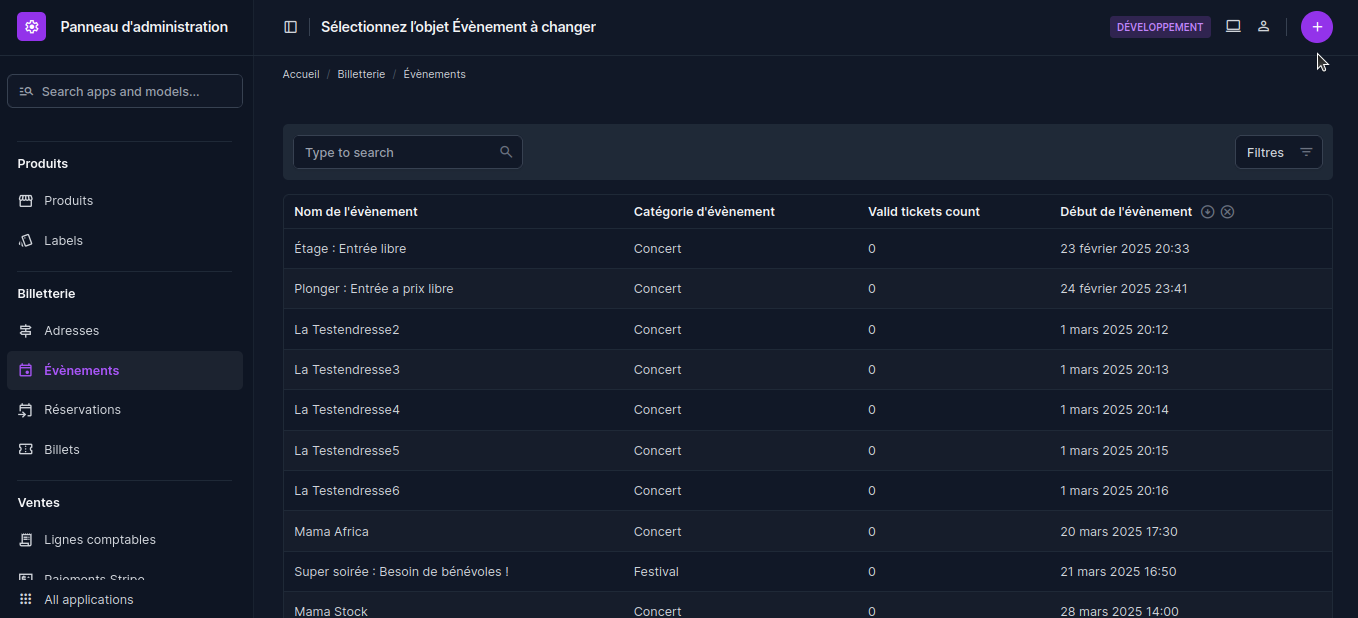
- Click on the "Events ‘ category in the left-hand column under the ’Events ” tab.
- Click on the “+” button at top right.
- Fill in the form:
- Event name**: Enter the title of your event.
- Event category**: select the corresponding category.
- Date and time**: enter the start date and time. end date and time (optional).
- Main image**: import an image to be used as a miniature on the calendar page.
- Carousel images**: add one or more images that will appear as the header on the calendar page, as well as in the “program” section of the event description.
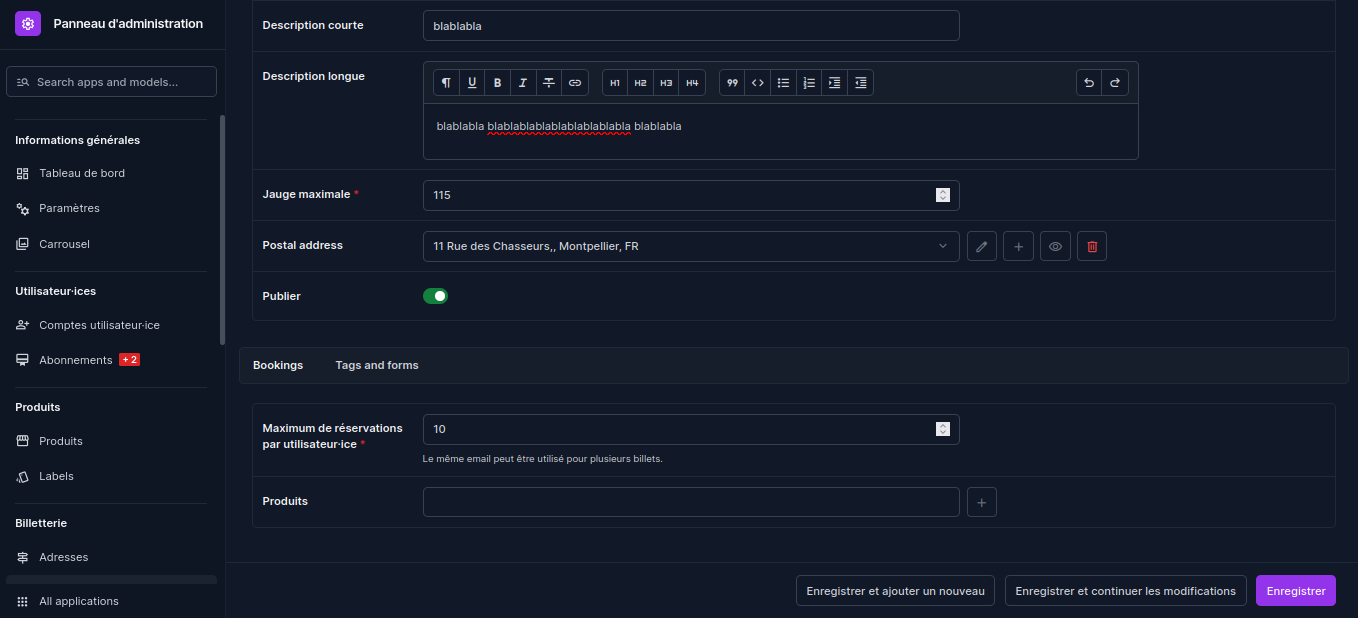
- Short description**: write a catchphrase to be displayed under the title.
- Long description**: add more information about your event in the "program ” section.
- Maximum capacity**: set a maximum number of participants for a booked event. If the event does not require a reservation, enter 0.
- Address**: enter the postal address of the event venue.
- Publish**: click on the "Publish ” button to show or hide your event in the calendar.
2- Products (Reservations)
This section allows you to display products on the event booking page.
These products can be rates, memberships, subscriptions, cashless recharges, merchandising or other...
- Enter the maximum number of reservations per user.
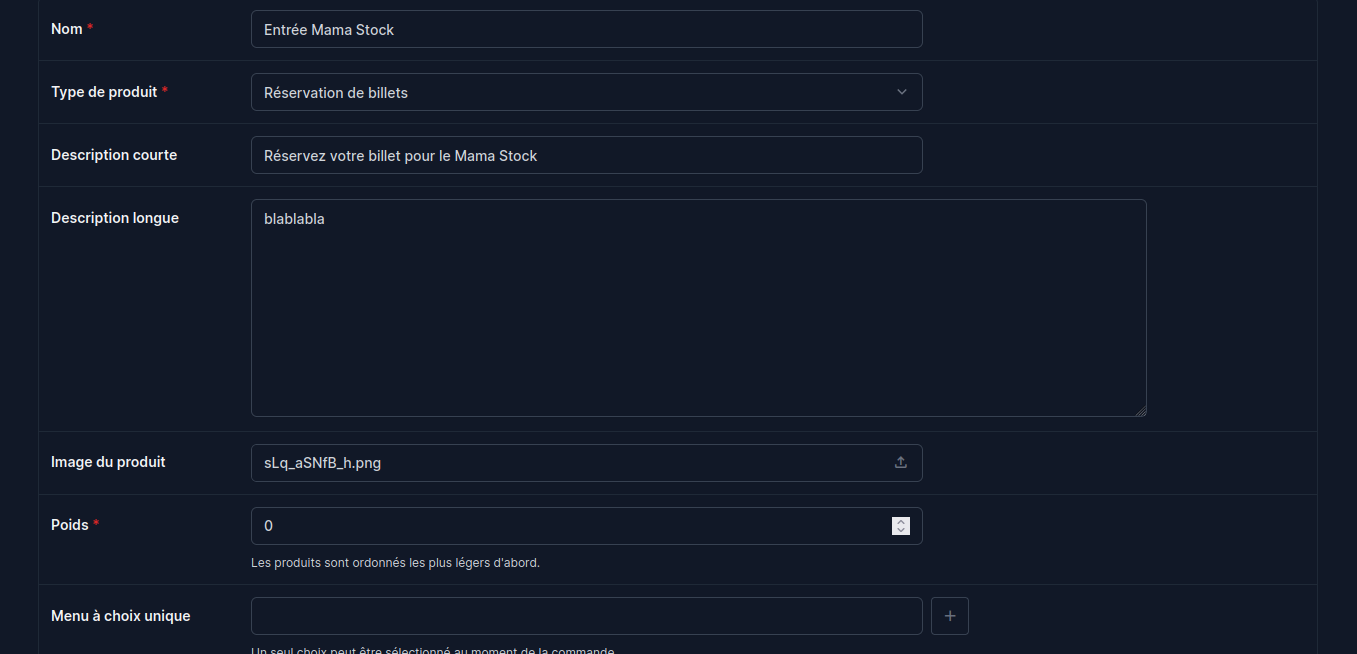
- Click on the “+” to add a product or select a product (this is the price of your reservation and associated info).
- Product type” allows you to sort products by category, and then assign them a price.
- Weight” allows you to choose the order in which products are displayed on the reservation page (the smallest will go first).
- Click on the “Save” button at the bottom of this new window to confirm.
Your products should now appear in the list in the “Items” section.
- Select those you wish to display on your booking page by holding down the Ctrl key and clicking on them. They will be highlighted in blue.
You can deselect them in the same way: Ctrl and right-click.

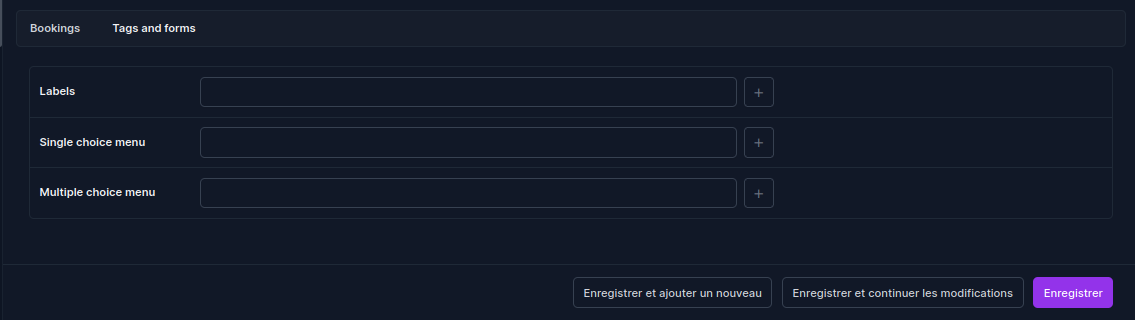
3- Tags and forms
- Add tags related to your event, allowing you to filter and categorize them.
- Options” can be selected or created in the same way as ‘products’ by clicking on the ‘+’.
- Single choice” obliges the person making the reservation to select one (and only one) option from those proposed.
- Multiple choice” allows the public to add this option or not.
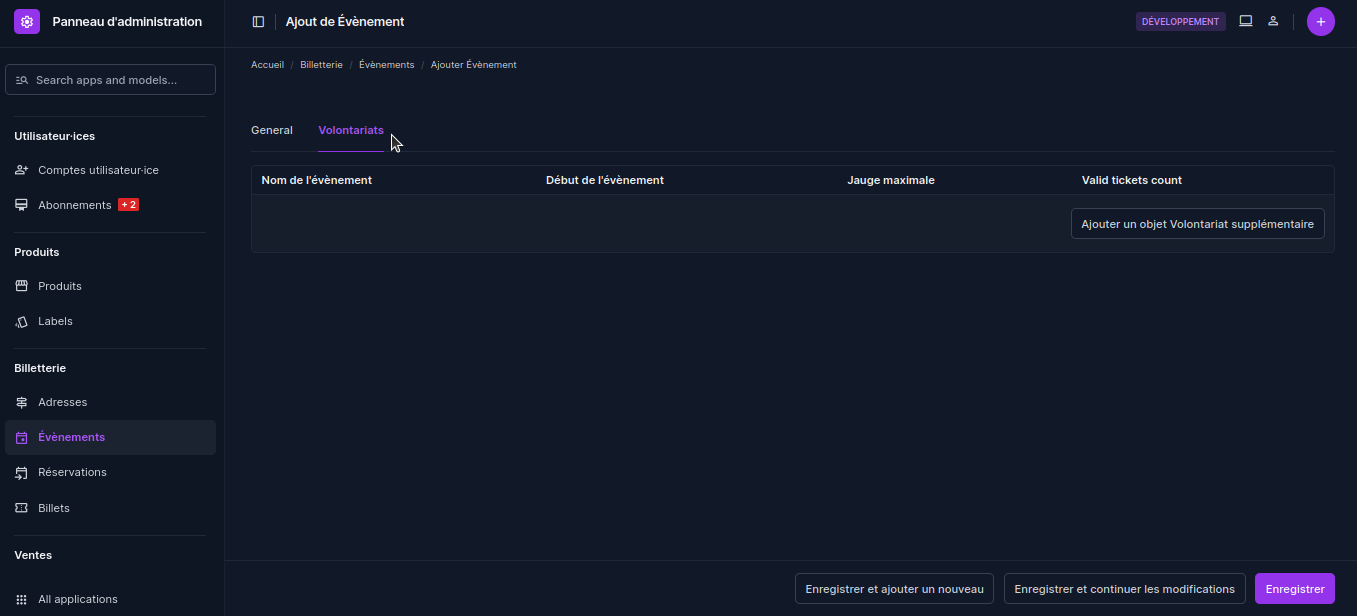
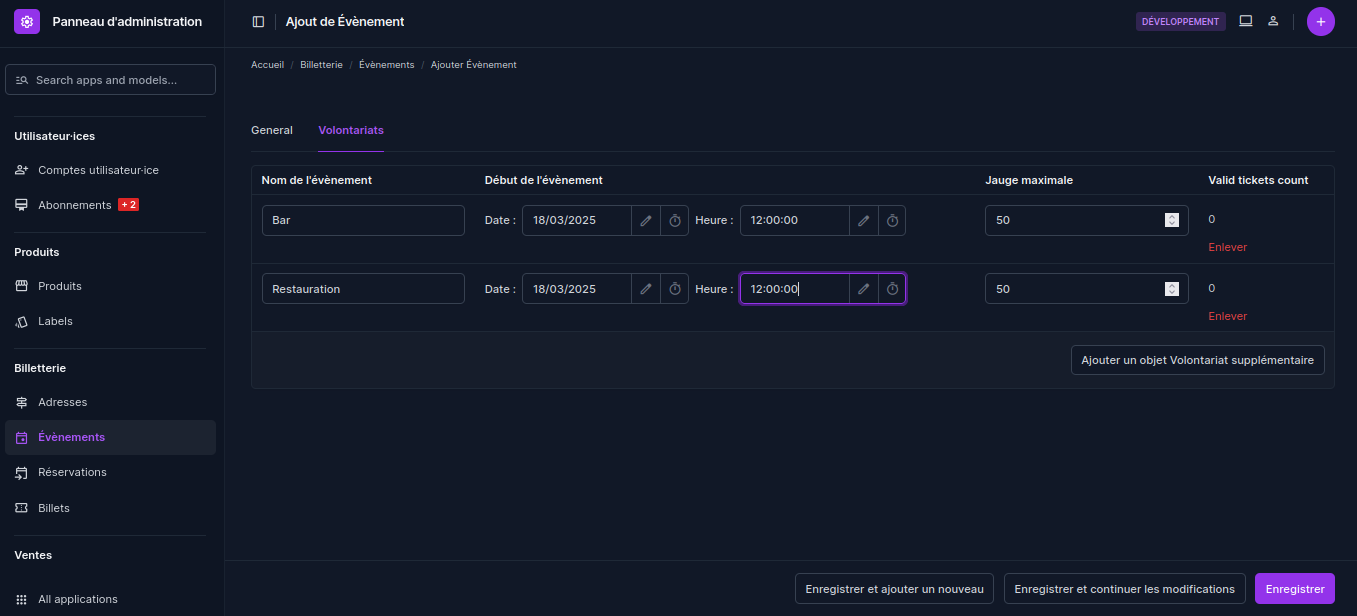
4- Volunteering tab
When you return to the top of the page, to the right of the “General” tab, click on the “Volunteers” tab.
- Click on the “Add an additional volunteer object” button.
- Enter the event name.
- Enter the start and end dates.
- Enter the number of spectators.
These actions allow you to create several performance spaces in the same location, with a limited number of people.
5- Publish your event
- Cliquez sur le bouton "Enregistrer" pour valider l'ajout de votre nouvel événement.
**Once you've created your products (step 2), you'll need to assign them a price.
To do so :
- Click on the “Products” category in the left-hand column under the “Products” tab.
- Select the previously created product.
- Click on the “Prices” tab.
- Fill in the rest of the form (descriptions, prices, stock...).
*This is where you can choose to make ticket reservations conditional on membership.
*Remember: memberships are created in the “Products” section. - Click on the “Save” button at the bottom of the page.

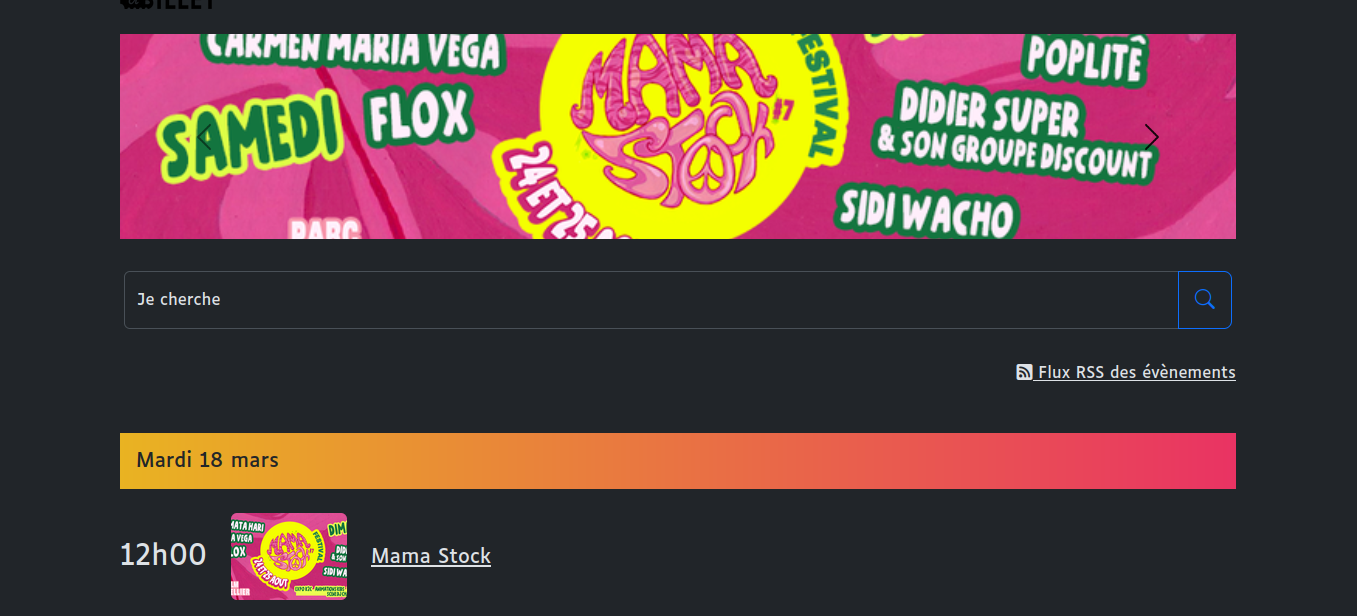
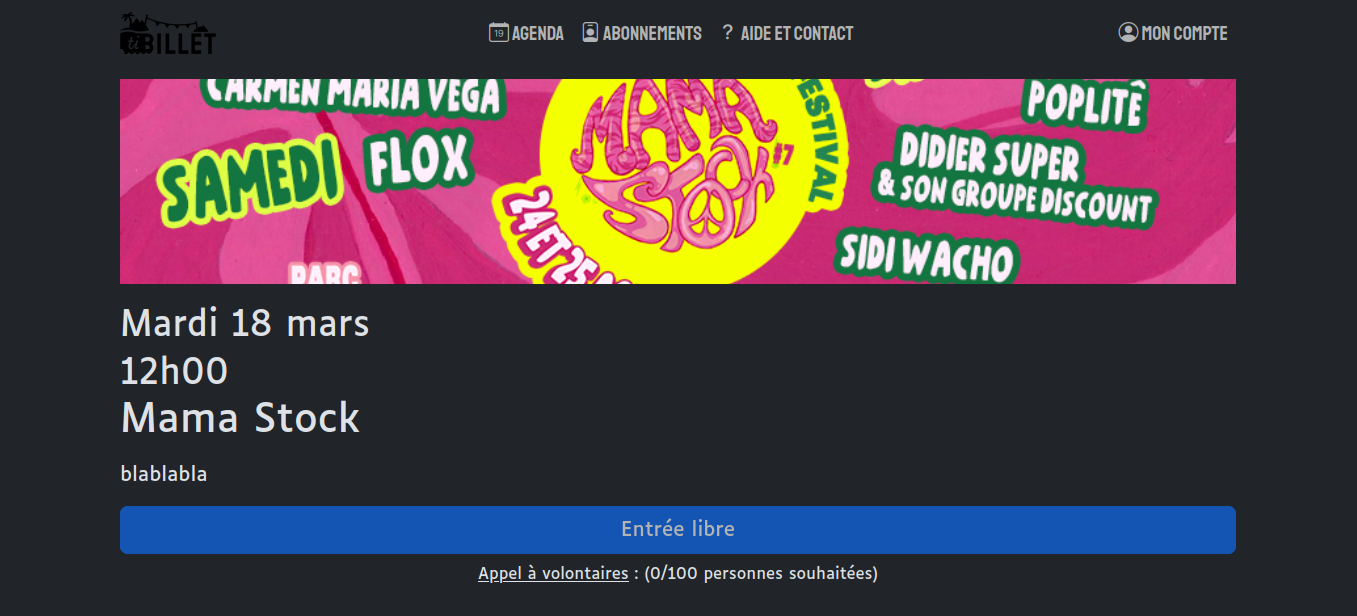
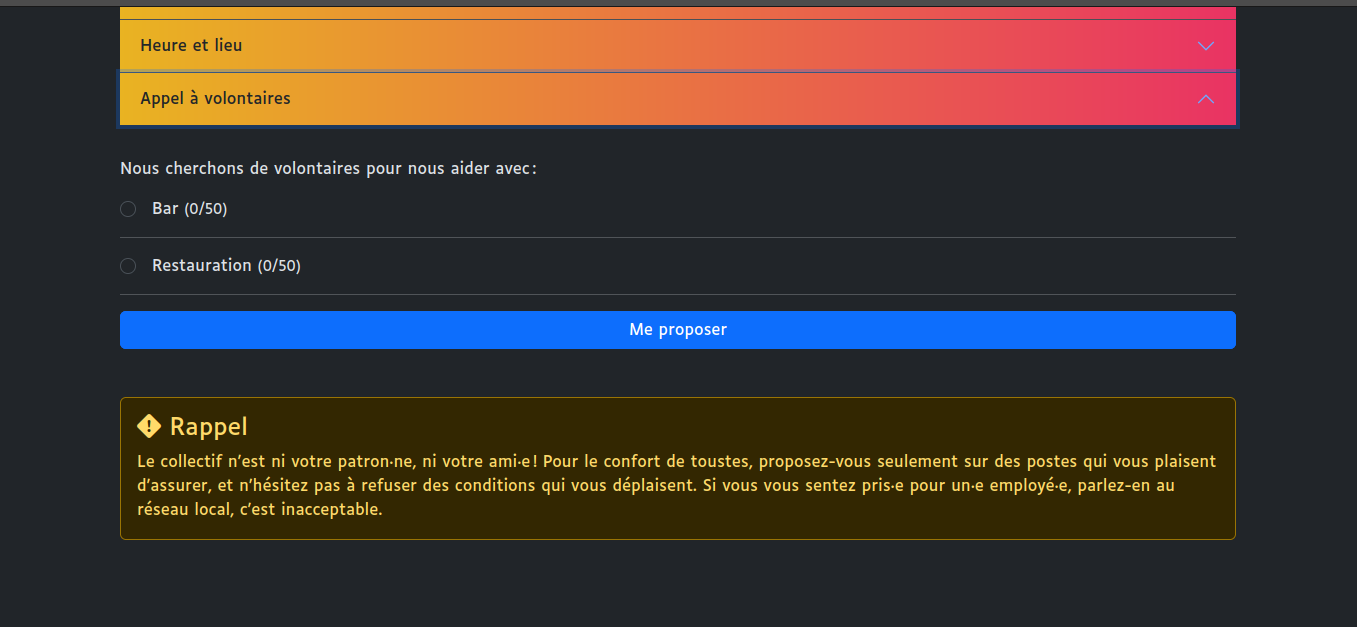
Lespass rendering
Event management
To manage your events, a filter system is used to facilitate searching and organization.
Filter :
- By Event Category
- By start date
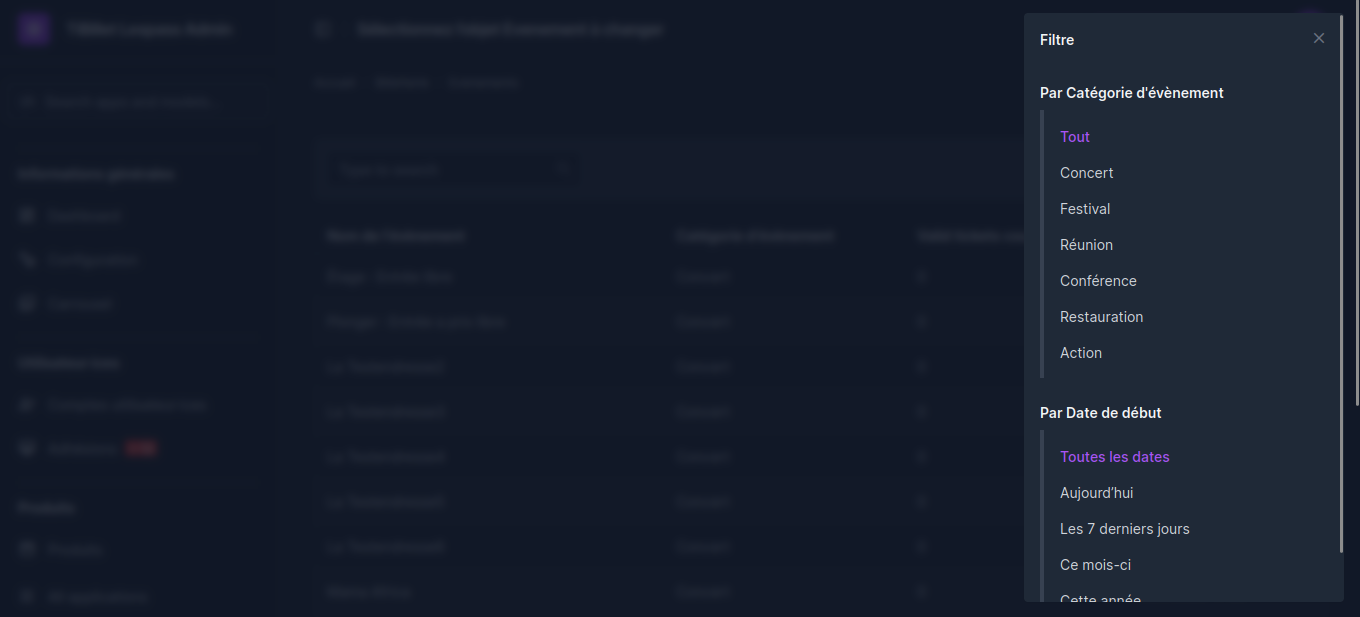
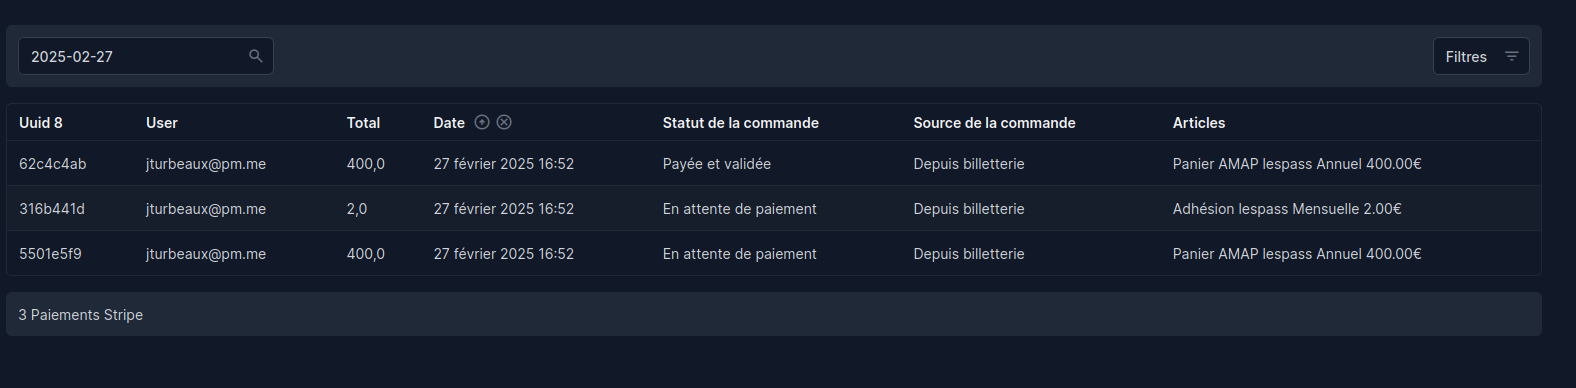
- type the date in the search bar (in US format, YYYY-MM-DD)
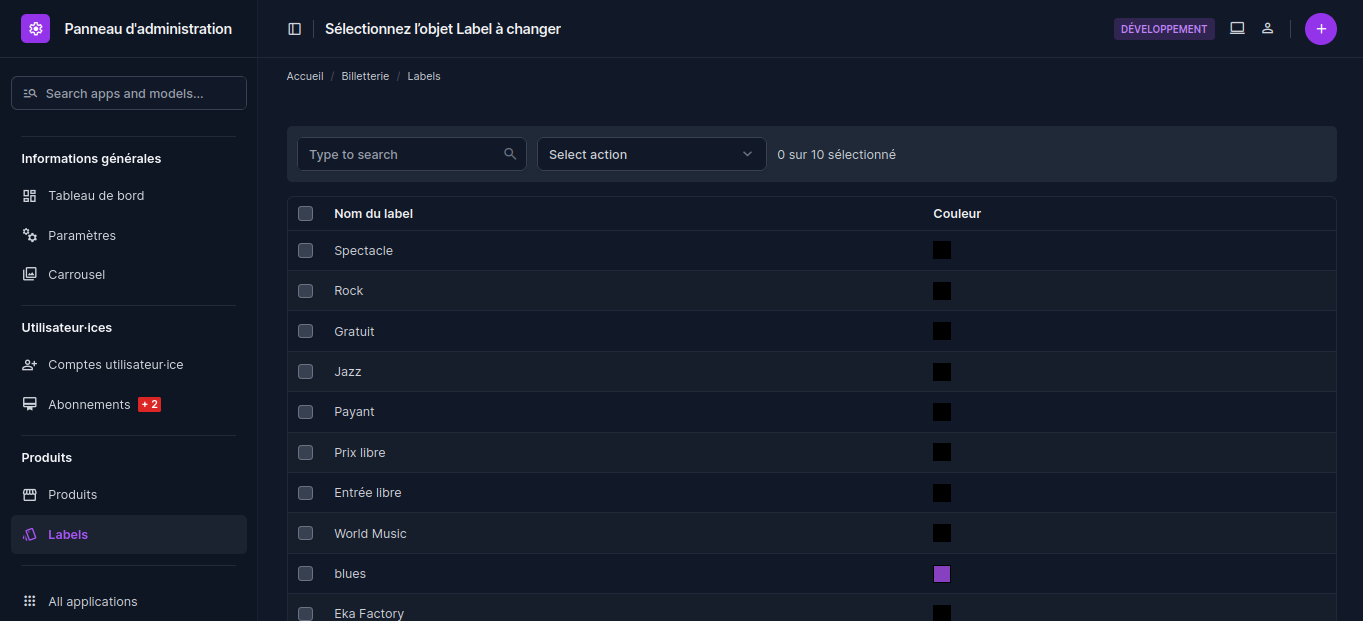
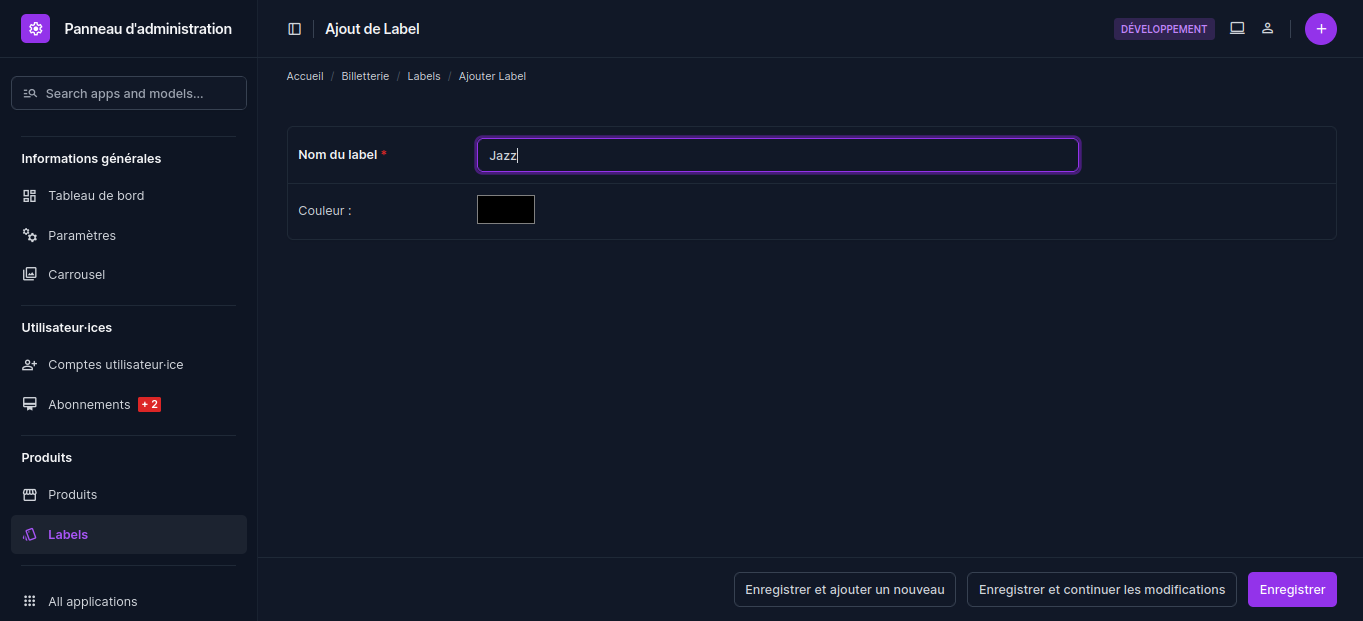
Add labels
Add labels if required, to better categorize your events.
- Go to the "Labels ” category in the left-hand column menu.
- Enter a label name.
- Choose a color (optional).