Create a post
**Create your tickets and manage your reservations with ease! **
If you are hosting an event with limited number of seats, paying or requiring a free reservation, connect these reservations directly to your events for optimal follow-up and smooth participant management.
Creating a ticket or booking works like a membership, with an additional feature detailed below to enrich your event management.
Steps to create
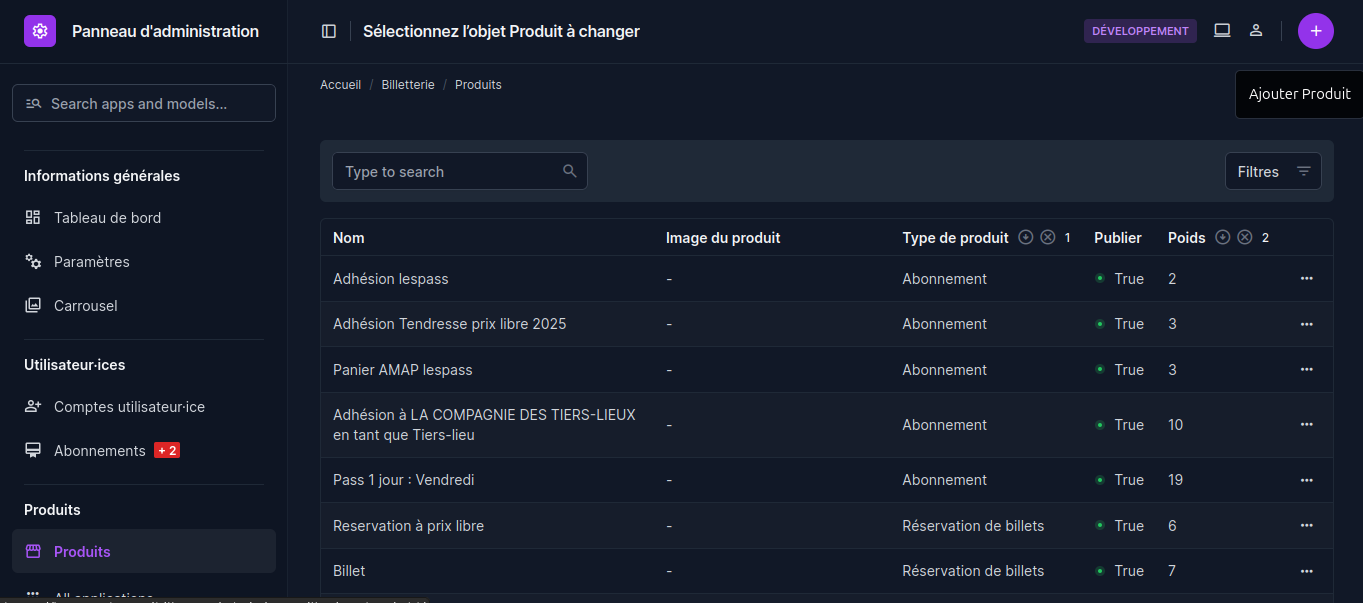
- Reservations are to be created in the category "Products" in the left column under the tab "Products".
- Click the "ADD PRODUCTS +" button.
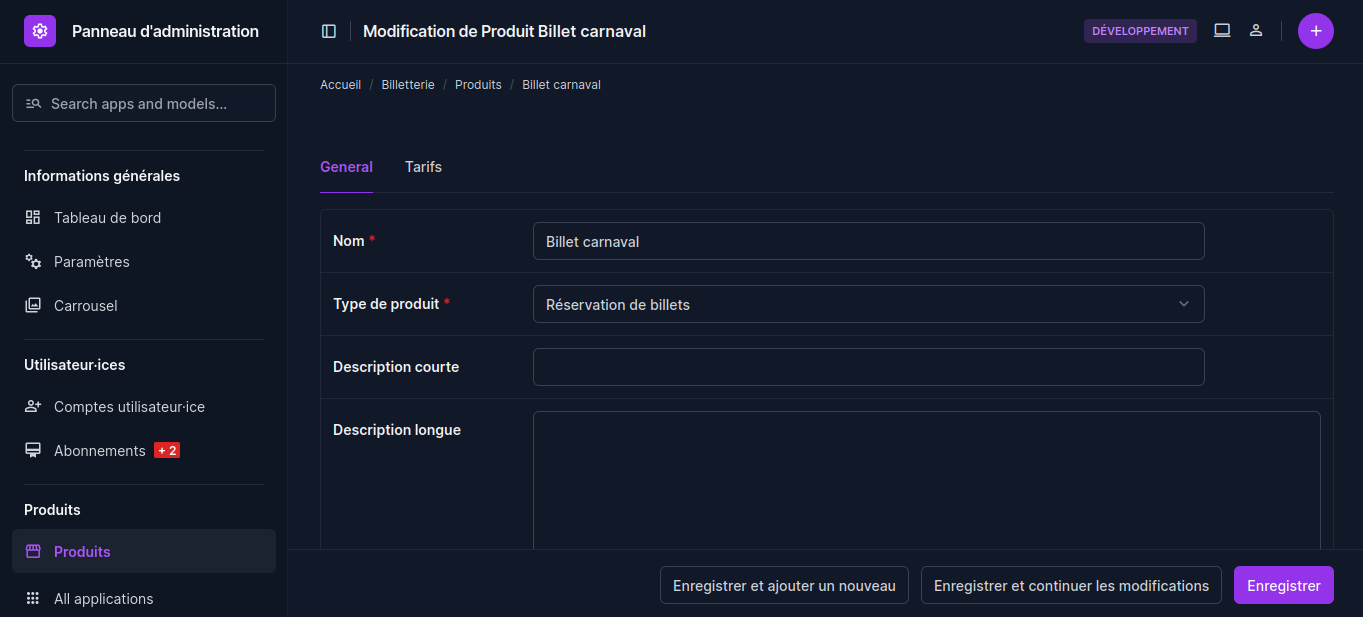
- Fill in the general information ("General" tab):
- Ticket Name (ex: Mama Africa Ticket).
- Product type : Select "Ticket for Paid Booking"*.
- Short description (optional).
- Long description (optional).
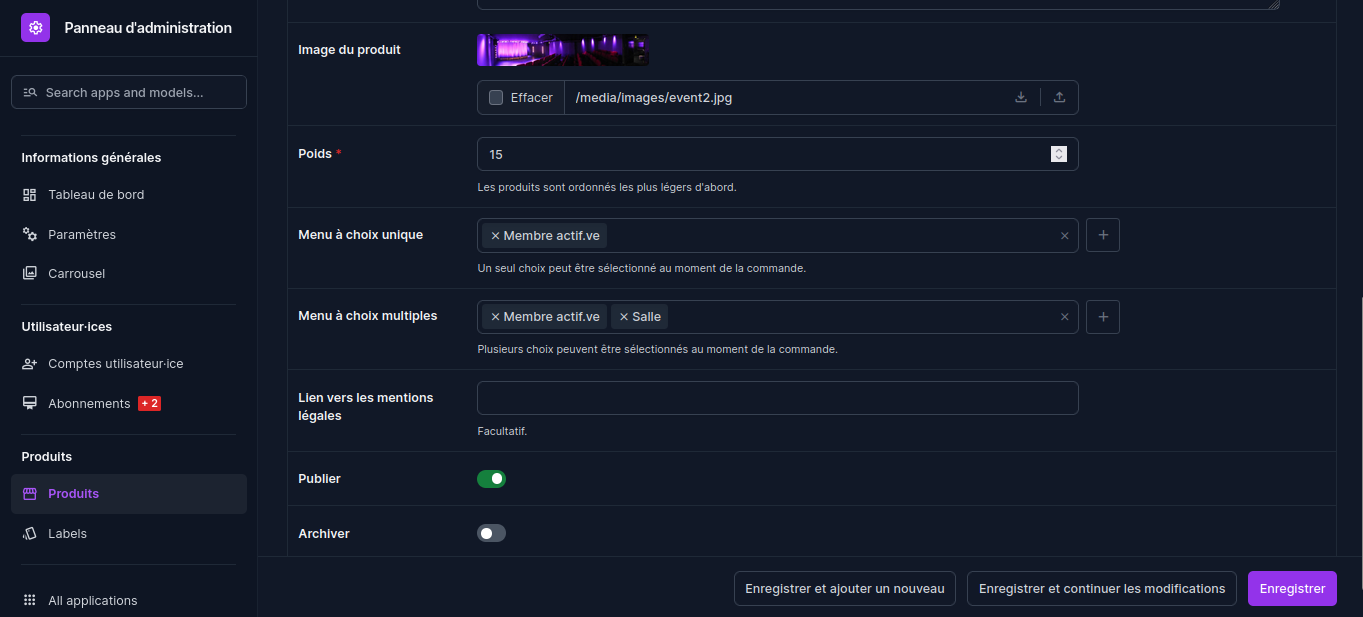
- Image: Import an image.
- Weight: Determines the order in which the banknotes appear (from lighter to heavier).
- Single Choice: Select only one option (optional).
- Multiple Choice: Allows you to select multiple options (optional).
- Link to a legal notice (optional).
- Post: Activate this button to display the booking in the event description page.
- Archive: Activate this button to delete the ticket.
Add a rate
Once the information of the tab "General" has been filled in, go to the tab "Tariff"*.
- Click on the "Add Additional Rate Object" button.
- Name of the fare (e.g.: Member’s price / Adult’s price / Full price / On-site price / Online price).
- Price: Fill in the ticket amount (except for a free fare).
- Free price: Activate this button if you want the customer to set the price themselves when paying with Stripe.
- Subscription Term Select "Not applicable"*.
- Publication Activate to make the rate visible.
- Save.
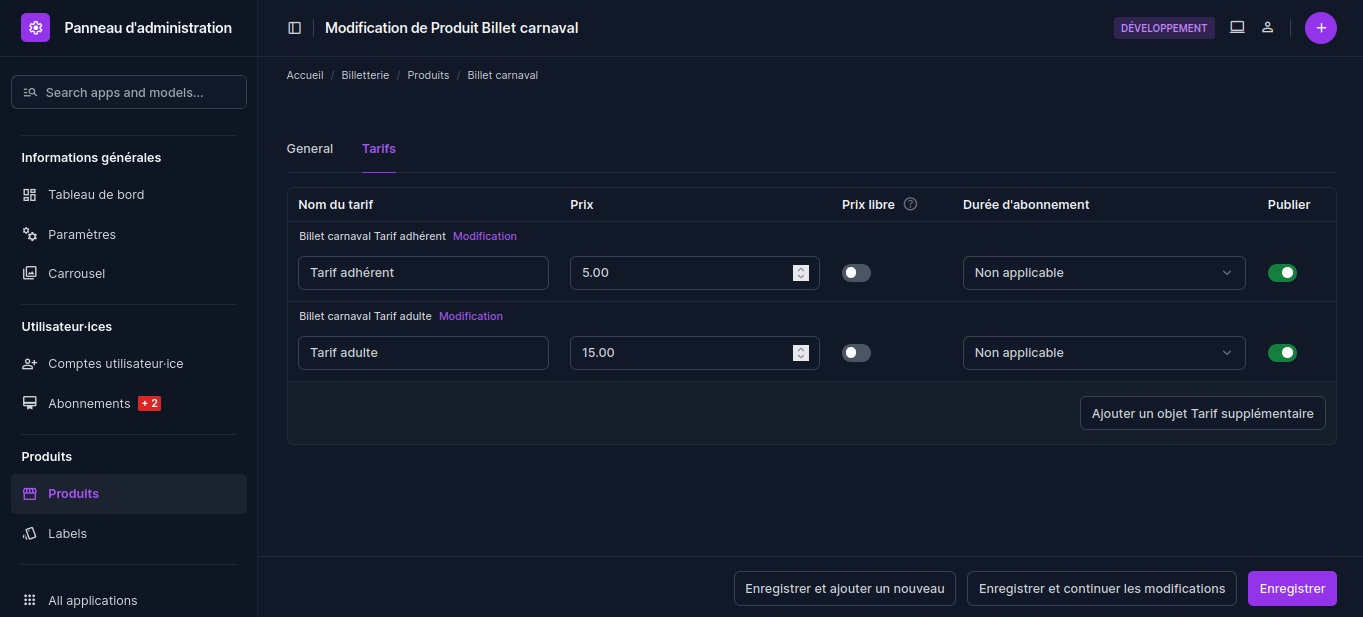
You now have a ticket booking proposal with several possible prices, including a Member rate, full rate or child rate. 🎟️