Articles
Here you choose the items that will appear in the interface, setting their price and linking them to a point of sale. To better organize the store, each item belongs to a category and is associated with a specific sales outlet.
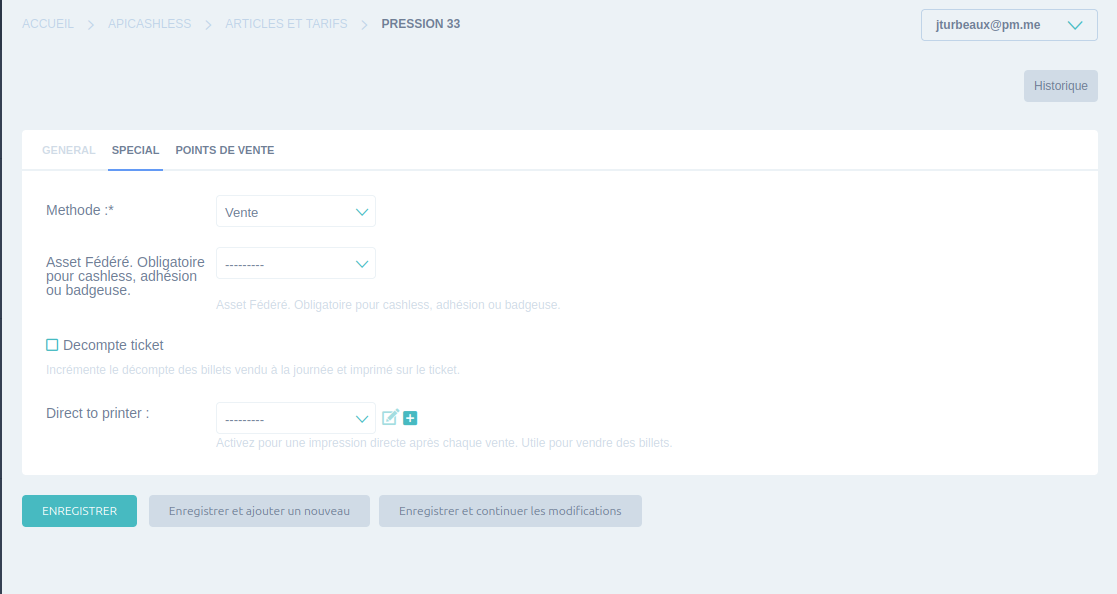
When creating an item, you can enter its general information (name, price, category, display color) as well as special information, such as sales method, federated asset (membership, basket, etc.) or even instructions for sending tickets to caterers. You also have the option of connecting it directly to a point of sale so that it's immediately available for sale. All this will be visible in the secondary menu under “add an item”:
1- Create an item
- Click on “Items and prices” in the left-hand menu.
- Click on the “Add item” button in the top right-hand corner.
- Enter the selling price.
- The purchase price is used to estimate an evening's profits, which will be displayed on the daily accounting report. It is not a mandatory value.
- Enter the item's category (This determines how it is displayed on the cash register interface. See Category.)
- Change the text color if you want a better display contrast.
- Possibility of adding the item to the point of sale and other specifications in the secondary menu as explained above.
- Save
2- Add it to a point of sale
You can use another method, by adding your various items directly to the “point of sale” category.
- Click on the “Points of sale” category in the left-hand column.
- Click on the name of an existing outlet to which you want to add your item.
- Fill in the items that will be available in the “Items” field. You can select more than one by holding down the ctrl key.
- Save
For a point of sale to be visible in the interface, it must contain articles. It is best to create the items first and then assign them to a point of sale.